So this was on the to-do list for a couple of years. I have to credit my wife for the idea. We’re fortunate enough to be able to visit Walt Disney World regularly, and Haunted Mansion at Magic Kingdom is always a favourite. Hence, the attempt at duplicating the singing heads. I finally got around to purchasing the necessary items in time for Halloween 2015, and to our delight, the project was a great success. Information is already out there, however I’ve broken it down further, real-simple-like, and cost effective.
Here we go:
First off, grab the projection loop from Youtube. There are several versions out there, including a 5 bust one, but this is the one I prefer: https://www.youtube.com/watch?v=7TFUAq_VAQA
You may need to download a free program in order to capture the video from Youtube to your laptop, just make sure you use a reputable one to avoid any unintended malware.
For the equipment, here’s what was required;
- 4 Styrofoam head busts (I ordered them on Ebay from China, cost for all 4, free delivery, was about $12 CND ($9 USD)
- 1 LCD projector (again from China on Ebay), cost about $50 USD delivered (I would order from the US but through EBay’s new World Shipping Program, Canadians are now charged duty on top of delivery charges – no thanks). This is a pretty cheaply made unit, but worked fine for my purposes.
- 1 15 pin connector cord (projector to laptop), about $4.
- 1 HP laptop (my older spare laptop)
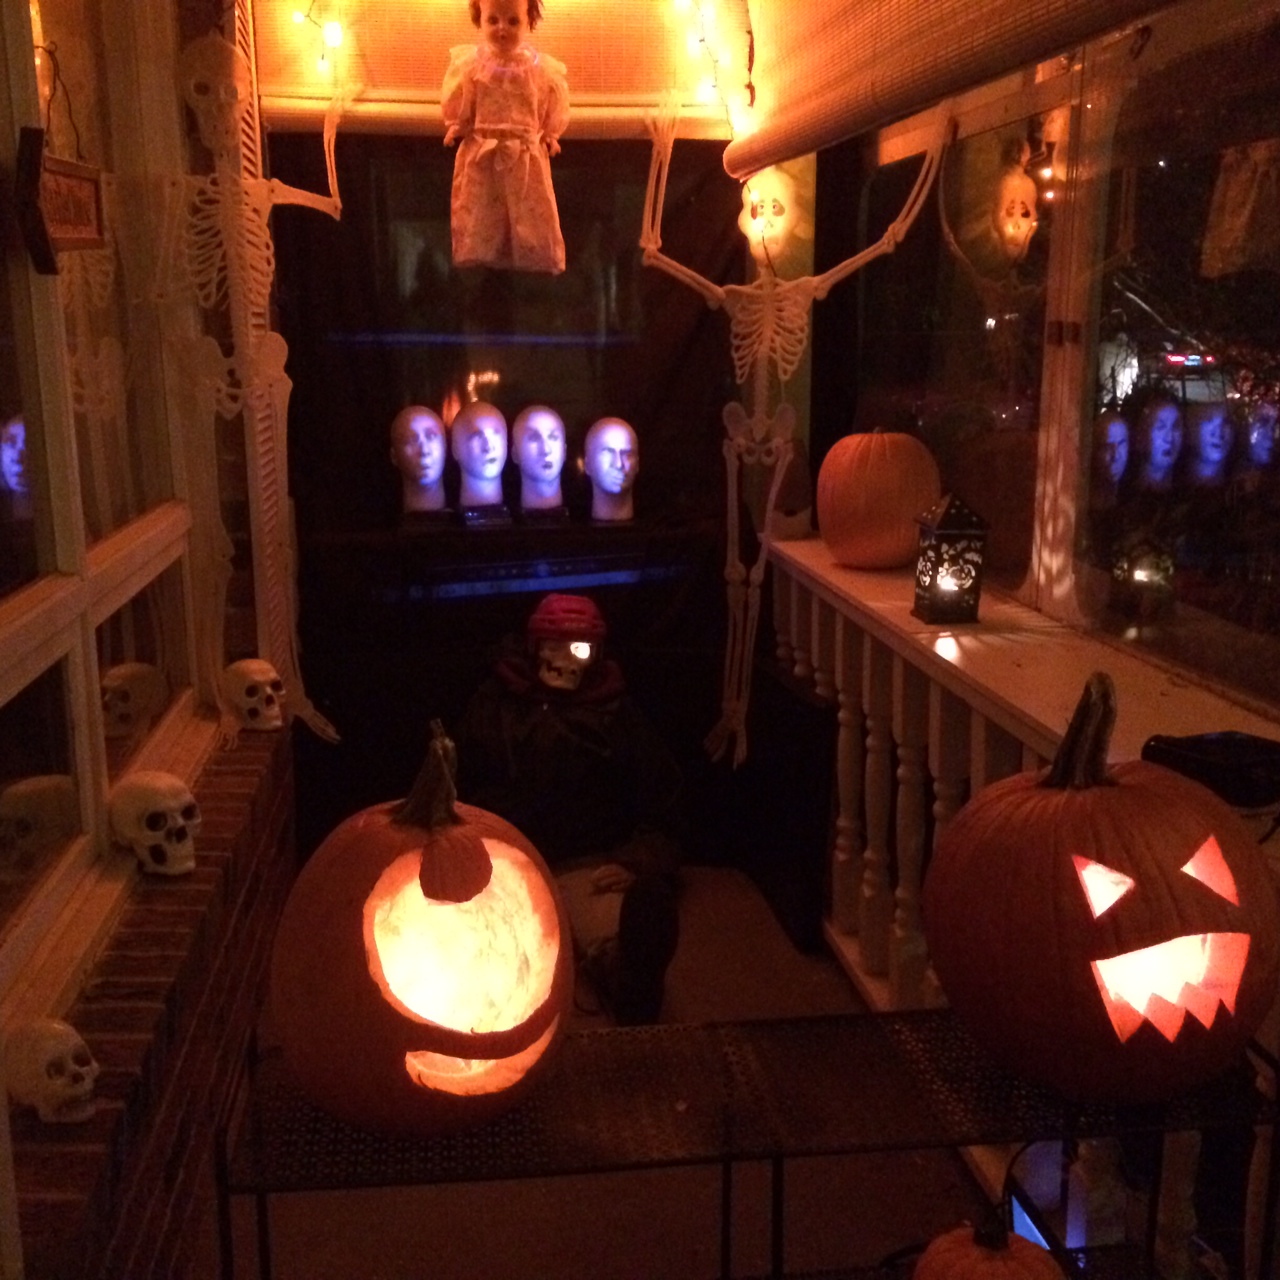
That’s it. After this, it’s all in the tweaking. Hook your laptop up to the projector. Line up the busts on a board or flat surface, I used a black backdrop on our porch (I purchased a Queen bedding package, black for $13, after Halloween it’s going on our spare room bed). Open your saved loop file, increase size to full screen, check the ‘repeat’ tab, then hit play. The darker the room the better for tweaking. I found a distance of about 8-9 feet worked best on the busts. Start aligning your busts, I used CD cases as height adjusters. The head on the far right is the lowest, all others will need to be raised. Play around, you may never get it absolutely perfect, but I was happy with my results.
For the music, I used an old set of computer speakers, worked great.
There are other sites that utilize a motion sensor that will set the display to go on with movement, but I kept mine simple, and left it running the whole time. No problems, other than I would occasionally go out and make sure my laptop didn’t go to sleep.
That’s all there is to it. Quite simple, and not costly. We only had about 50 kids for Halloween this year, but lots of compliments, including a few who stopped to take pictures.
Here’s a brief clip:
Any questions, drop me a line. Happy Haunts!
Reblogged this on Senczyszak.com and commented:
Revisiting my very first post, 3 years ago. It’s been quite a journey.
LikeLike
That’s pretty cool!
LikeLike